KVM(Kernel-based Virtual Machine) is a full virtualization software for linux. You can run multiple virtual server instances under one physical host. This allows you to seperate services and run them on different virtual machines. The link to the project can be found here. Running virtual servers is often used to condense many physical machines into virtual machines running under a single physical host.
To begin login to the physical host and perform the rest of the steps.
Install the required KVM packages:
You can install them by naming them each individually:
yum install -y qemu-kvm libvirt libvirt-client virt-install virt-manager virt-top virt-viewer
Or you can group install them through yum:
yum group install "Virtualization Host" "Virtualization Client"
Package Descriptions:
qemu-kvm – Main software package for KVM
libvirt – The libvirtd service which manages hypervisors
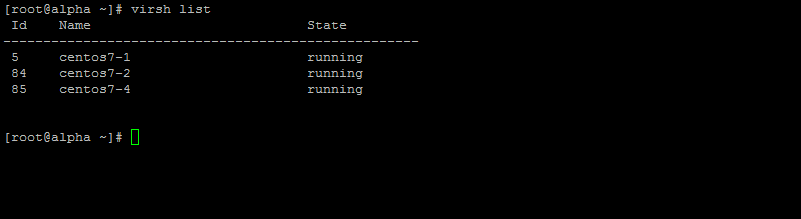
libvirt-client – virsh command for managing vms
virt-install – tools for creating virtual machines
virt-top – commant to display virtualization statistics
virt-viewer – graphical console to connect to vms
Load The KVM Kernel Module:
See if the kernel module is already loaded by typing:
lsmod|grep kvm
It should return:
kvm_amd 65072 9
kvm 525409 1 kvm_amd
If it does not return anything, you will need to load the module. If you dont know if your server is amd or intel enter the following to check:
cat /proc/cpuinfo|grep vendor_id
It will return one of the following:
Intel:
vendor_id : GenuineIntel
AMD:
vendor_id: AuthenticAMD
Based off that load the module using one of the following commands:
Intel:
modprobe kvm_intel
AMD:
modprobe kvm_amd
You can then make in permanent by adding one of the following to /etc/rc.local
Intel:
/sbin/modprobe kvm_intel
AMD:
/sbin/modprobe kvm_amd
Start the libvirtd service:
CentOS 6:
To start the service:
service libvirtd start
Make sure it starts on boot:
chkconfig libvirtd on
CentOS 7:
To start the service:
systemctl start libvirtd.service
Make sure it starts on boot:
systemctl enable libvirtd.service
View our part 2 on Bridged Netowrking Setup for KVM Virtualiation on CentOS